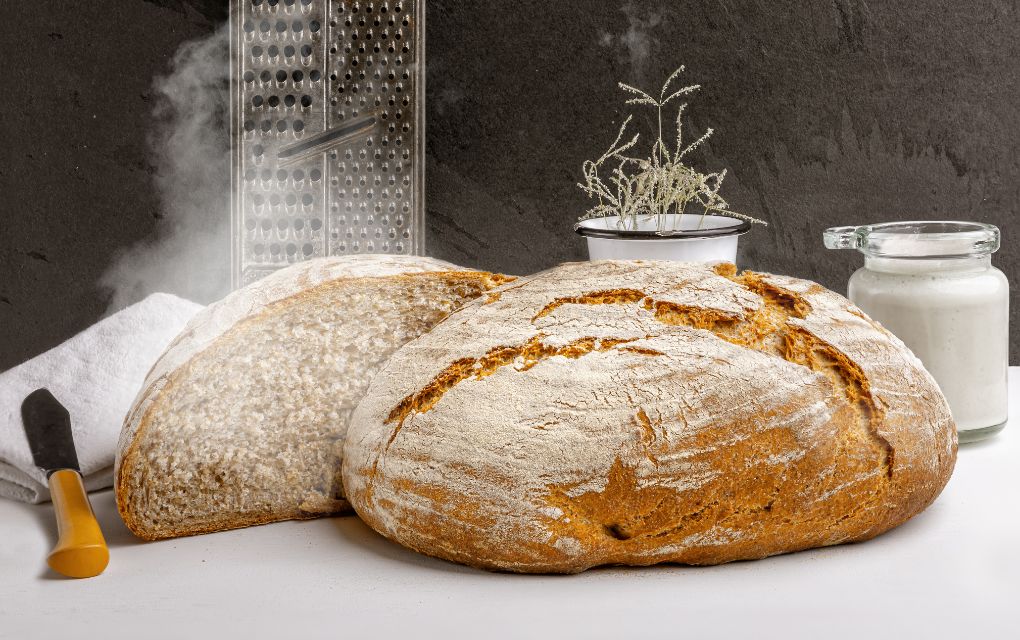
Every April 1st is #NationalSourdoughBreadDay and the bakers at Abigail's Oven love to share bread making with others. After my own sourdough class at Abigail’s Oven, I went right home and went to work making bread.
The process lasted well into the night and early morning. It was then I recalled Martha Levie’s suggestion that making the dough and letting it rise overnight, makes it easy to bake it in the morning. This makes good sense, since the time needed for fermentation and a good bread rise is 8 hours; a time you could be sleeping while the starter does its magic with the bread
Emilie Raffa agreed when she wrote:
“Simply make the dough, let it rise overnight, and bake in the morning. It requires very little effort with big rewards. The crust is golden and crunchy, and the velvety crumb is perfect for sandwiches and toast.”— Artisan Sourdough Made Simple
Personally, I have found the overnight method to be an easy evening routine. Using Abigail’s Oven Country Loaf recipe, these simple steps deliver baked bread first thing in the morning.
Abigail's Oven 3 PERFECT™ INGREDIENT Sourdough Country Loaf Recipe
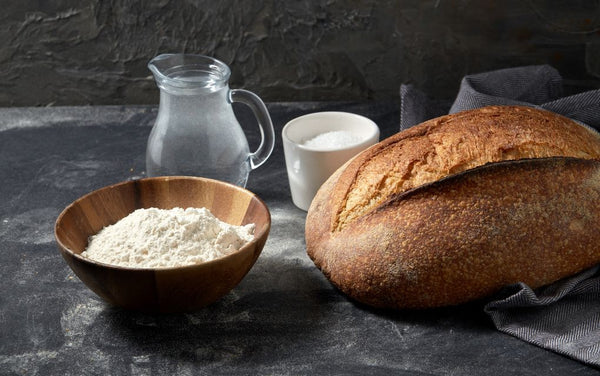
INGREDIENTS for Bread
- 3⅔+¼ cups [640+60g] spring water
- ¾ cup [170g] sourdough starter
- 5½ cups [700g] White bread flour (we suggest Organic Artisan Bakers Craft)
- 2½ cups [300g] Whole-wheat flour (freshly ground if possible)
- 2 Tbsp [34g] Real™ Salt
DIRECTIONS
The AFTERNOON and EVENING BEFORE BAKING DAY
Step 1. Activate your sourdough starter. At least 4 hours before you want to start baking by mixing equal parts of water (120 g | ½ cup) and flour (120 g | ¾ heaping cup) to 60 g (¼ cup) sourdough starter in a jar. Cover the jar loosely and let it sit in a warm place. The starter should double in size during this time.
- During the colder months, I store my sourdough starter on top and near the back of the refrigerator to keep it warm. The heat generated by the refrigerator's coils helps maintain the starter's activity.
- In the summer, when the ambient temperature is warm enough, I simply leave the starter on the counter and feed it daily. But you need to pour half of this off each day into your discard jar.
- If your schedule doesn't allow for daily feedings, activate your starter in the morning before work. Then place it in the refrigerator before leaving home and retrive it at dinnertime to bring it back to room temperature. This normally will be ready to used 4 hours later.
Step 2. Mix the Flour and Water and Autolyse for 30 minutes. Once your starter is active, it's time to mix the flour and water for the dough, (but hold off on the salt and starter for now). Simply combine the starter with flour, and mix the dough with your hands until the dough is all moistened.
- My personal personal choice of flour is a blend of 4 cups of bread flour combined with 3½ cups freshly milled whole wheat or einkorn and ½ cup freshly milled rye.
- The resulting dough will be quite stiff and will benefit from some hands-on mixing until the flour is fully incorporated. (Using your hands has two benefits, first, you can feel for dry clumps of flour and mix them in much better than when stirring with a dough whisk or spoon, and second, your own good bacteria will become part of each loaf you make.)
- This 30 minute resting period is called the autolyse. It allows time for enzymatic activity to occur in the wet ingredients. This activity helps to form the gluten in the dough, which is responsible for holding gases during the long fermentation process. Allowing the dough to rest before adding the salt also contributes to a better rise and a more complex flavor in the finished loaf.
- Cover and let this rest for 30 minutes.
Step 3. Stretch and Fold the Dough, then Let is Rise. After the autolyse, add the salt and starter with ¼ cup [60g] of additional water to help dissolve the salt; work this into the dough after the autolyse using a stretch-and-fold technique which also helps develop the gluten for gas retention during the bulk rise.
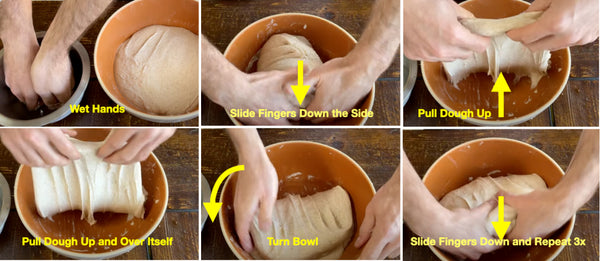
- To begin the stretch-and-fold process, moisten one hand with water. Using your wet hand, grab a corner of the dough and stretch it upwards, then fold it over the rest of the dough. Rotate the bowl a quarter turn and repeat this process. Aim to stretch and fold the dough three to four times.
-
This marks the first of three stretch-and-fold sets you'll perform over the next 90 minutes. Cover the dough with a damp towel to allow it to rest between each set of stretch-and-folds.
- Repeat this process every 30 minutes, completing three sets within the next 90 minutes.
- Next, it's time for bulk fermentation, the stage where you allow the dough to rise at room temperature. This process can take anywhere from four to eight hours, depending on your kitchen's temperature. If you're aiming to reduce gluten in your diet, aim for a bulk fermentation period of 8-72 hours.
- During bulk fermentation, ensure the bowl is covered with a damp towel to maintain humidity. If your kitchen temperature exceeds 70°F (21°C), you may need to refrigerate the dough for 8-10 hours.
- Since this dough rises gradually overnight, you won't be tempted to rush the process or constantly check its progress. Simply let the dough work its magic while you sleep.
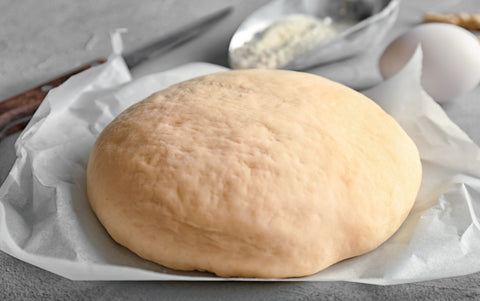
- The dough should double in size. To confirm this, poke the dough with your finger. If it springs back to the surface without leaving a dent, it needs more proofing. However, if it springs back slightly and leaves a slight indentation, it's ready for tensioning. (If it leaves a dent and doesn't spring back, it may be over-proofed and requires immediate baking.)
BAKING DAY
Step 4. Shape and Tension the Dough: In the morning , lightly flour your work surface to prevent the dough from sticking. You don't want to add too much flour, as this will make it difficult to shape the dough and develop tension. (If you need to mitigate gluten, substitute olive oil or water on your work surface.) Turn the dough out onto the floured surface and gently shape it into a rough round loaf.
Emilie Raffa explains how, this way:
“With floured hands, gently cup the dough and pull it toward you in a circular motion to tighten its shape… Using a bench scraper, place the dough into the bowl [or proofing basket], seam side up.”—Artisan Sourdough Made Simple
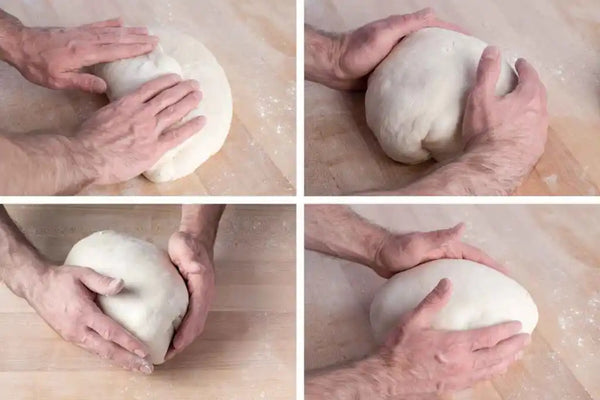
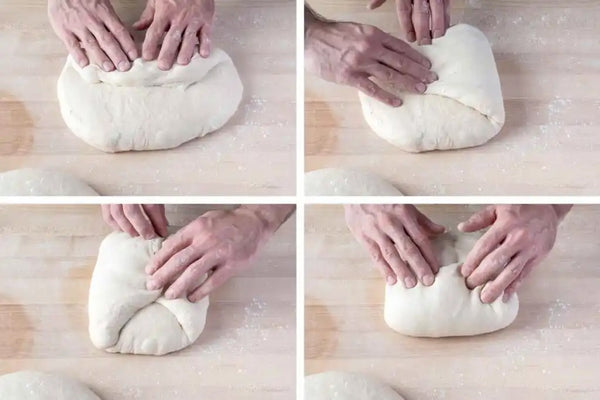
- To shape the dough into a boule, start at the top and fold the dough over itself toward the center. Then roll the dough up like a jelly roll, turn and repeat several times until the dough pulls itself together as shown
- Using a dough blade or your hands, turn the dough in a flat circle until it shapes into a ball.
- With your cupped hands, gently pull the dough inwards, creating tension on the surface. This will help to develop a strong gluten network that will support the loaf during baking.
- If there are any visible seams or creases on the surface of the dough, gently tuck them underneath to create a smooth and even surface.
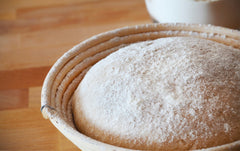
- Flip the dough into an 8-inch (20-cm) bowl lined with a towel dusted with flour or proofing basket, but avoid overworking the dough, as this can weaken the gluten and result in a denser loaf.
Step 5. Final Rise: Cover the baker's basket or bowl with plastic wrap or a damp towel and let the dough rise for 30-45 minutes (or in the fridge overnight if you like). The dough is ready when it has become puffy but has not yet doubled in size.
- Meanwhile, preheat your oven to 465°F (240°C) with whatever baking implement (i.e. Dutch Oven, loaf pan, pizza stone, etc.) you plan to bake the bread in or on.
- Cut a piece of parchment paper slightly larger than the base of your Dutch oven, leaving enough excess around the edges to easily lift the bread out after baking.
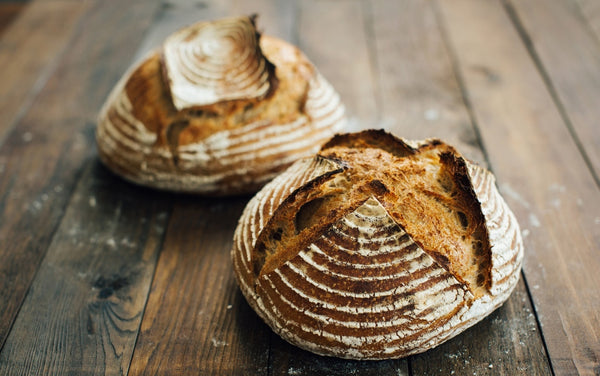
Step 6. Score the Loaf: most folks think scoring is just done for a decorative effect, but it actually controls oven spring by giving the dough a release point. This prevents the loaf from bursting or tearing during the bake. And the cuts allow steam to escape from the dough, resulting in a crispy and textured crust, while allowing the oven heat to penetrate the dough more evenly.
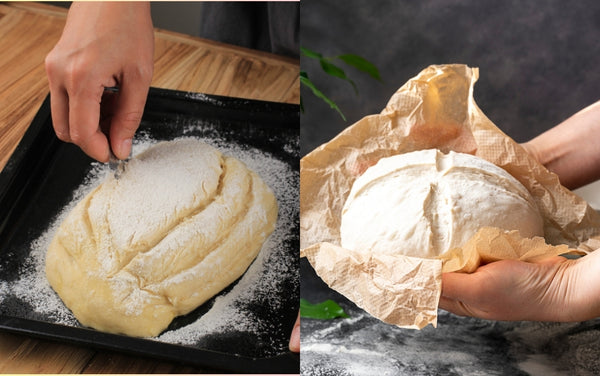
- Invert the bowl holding the dough onto parchment (I hold my hand under the bowl with the parchment on my palm). Support the bread on parchment as you invert it then remove the shaping container.
- Dust the top of the dough with flour. With your hands gently rub the surface spreading the flour evenly.
- Using a bread lame, sharp knife or a razor blade, score the dough with any pattern you’d like. (Listed below are several patterns offered courtesy of Breadtopia)

Step 7. Bake the Bread

-
Use the parchment to transfer the dough to the dutch oven.
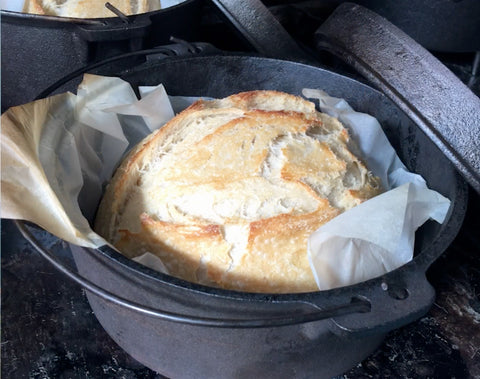
- Bake the dough on the middle rack of your oven for 20 minutes, covered (or uncovered in an oven with a pan of boiling water on a lower rack, which is how I do it).
- If baking without water, remove the lid and continue to bake for 10 minutes to crisp the crust, otherwise total time with heat is 30-45 minutes.
- Use an instant read thermometer to check the internal temperature, which should be between 195°F [90°C] and 205°F [96°C].
- Then turn off the heat, but leave the loaf in the oven with the door ajar for 30 more minutes as it cools and the crust hardens.
- Transfer to a wire rack for final cooling before slicing.
- While many folks like to eat bread hot, sourdough needs to cool completely before slicing to avoid a gummy center. Personally I like it best the second day, especially when I have added rye, which takes a day to develop flavor throughout the loaf.
In the comment section below tell us about how your first loaf turned out.
 Author: Darryl Alder lives with his wife in Riverside Lodge, which is their home along the Provo River in Utah. He is a retired career Scouter and outdoorsman who spent many hours over a campfire using a Dutch oven and loves sharing recipes for the kitchen and the campfire alike. You can read many of his recipes on this site by searching for Sourdough Saturday or Recipes on this site or at YourSourdoughStart.com.
4 comments
Thanks, Ben for noticing the pictures were missing, they have been added once again thanks to you.
Hello, this article references photos on the right but I don’t get any. I am excited to try this tonight, looks exactly like what I am looking for
Best bread ever easy to make & so soft
Can’t wait to try this recipe. Thank you & God Bless