Our children are all adopted, and because of their ethnicities, this time of year we celebrate more holidays around our home than most other families. We kick off the season with St. Nicholas Day, December 6th, then Christmas, of course, followed by Kwanza and New Year’s Eve. Sadly we missed the eight days of Hanukkah because until very recently we did not know our oldest son’s heritage was Jewish, otherwise, we might have celebrated it also.

The Alder family Christmas 2012
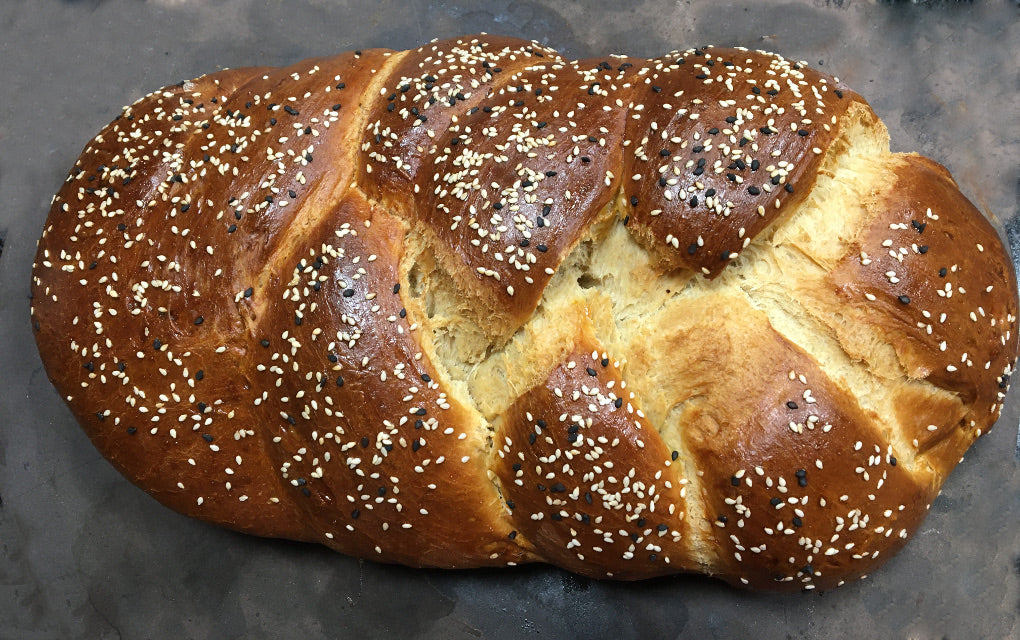
He and his family flew in from Dallas last year for the holidays, arriving on the first day of Hanukkah that year. I wanted a fresh sourdough Challah waiting for him to try (see my first attempt in the header image above).
Happily, for us, the tradition of always having roast goose has declined in the last few years, so I was about to stick to learning how to make one new thing that year. But in baking my first ever Challah last year, I was surprised how easy it was to make, which I had not expected.
The bread itself is made from an egg and honey enriched dough, but unlike other brioches, it uses no milk and no butter. Whenever I bake with enriched dough, my guests love my brioche as either rolls or bread.
The recipe is adapted from A Blessing of Bread: The Many Rich Traditions of Jewish Bread Baking Around the World, published in 2004 in book form. Since then this recipe has shown up all over the internet and is the easiest sourdough loaf I have ever made—do not be afraid to take it on.
Sourdough Challah Recipe
IngredientsActive Start
|
InstructionsPre-Ferment
|
Dough
|
Dough
|
 Shape and Proof Dough

- Line baking sheets with oiled parchment paper or prepare your stone.
- Divide the dough into quarters and roll each into a dough snake.
- Braid dough as shown or view How To Make a 4-Braided Challah
- Lift the braided dough onto the prepared sheet and cover it.
- Let it proof for 5 hours until tripled in size.

Bake Bread
- When the loaves have tripled and do not push back when gently pressed with your finger but remain indented, brush them with an egg glaze and sprinkle with sesame or poppy seeds.
- Bake loaves for 35 to 45 minutes until very well browned.
- When they are done (internal temp 200°F [93°C]), remove them from the oven to cool.
The dough was easier to handle than most sourdough—braiding was the most intimidating part of the whole process, but mine turned out much better than I had imagined it would. Now that I have baked this recipe, it looks like a real winner and I want to bake another and I may have to if this one does not last until Sunday night when we will serve it with beef borscht.
Tell us about your experience in making and baking Challah in the comment section below.